 Bellingham Siding
 Windows Built for Barkley's Marine Climate
Barkley sits close enough to the Puget Sound and Bellingham Bay that homes here take a steady beating from salt-laden air, wind-driven rain, and the long gray stretch of moss season that runs from fall through spring. Whatcom County doesn't get the extreme heat or cold of inland climates, but it makes up for that with relentless moisture. Windows in this part of Bellingham are almost never dealing with a single hard freeze — they're dealing with months of sustained dampness, wind pressure off the water, and UV exposure during the brief but real summer stretch. That combination is hard on seals, hard on wood trim, and hard on flashing details that were installed as an afterthought rather than a system.
A window that's a good fit for a dry inland climate isn't automatically a good fit for Barkley. The material, the flashing sequence, and the sealant choices all need to account for water finding its way in sideways during a driving rain, not just water running straight down off a roofline. That's the lens we use on every window job in this neighborhood.
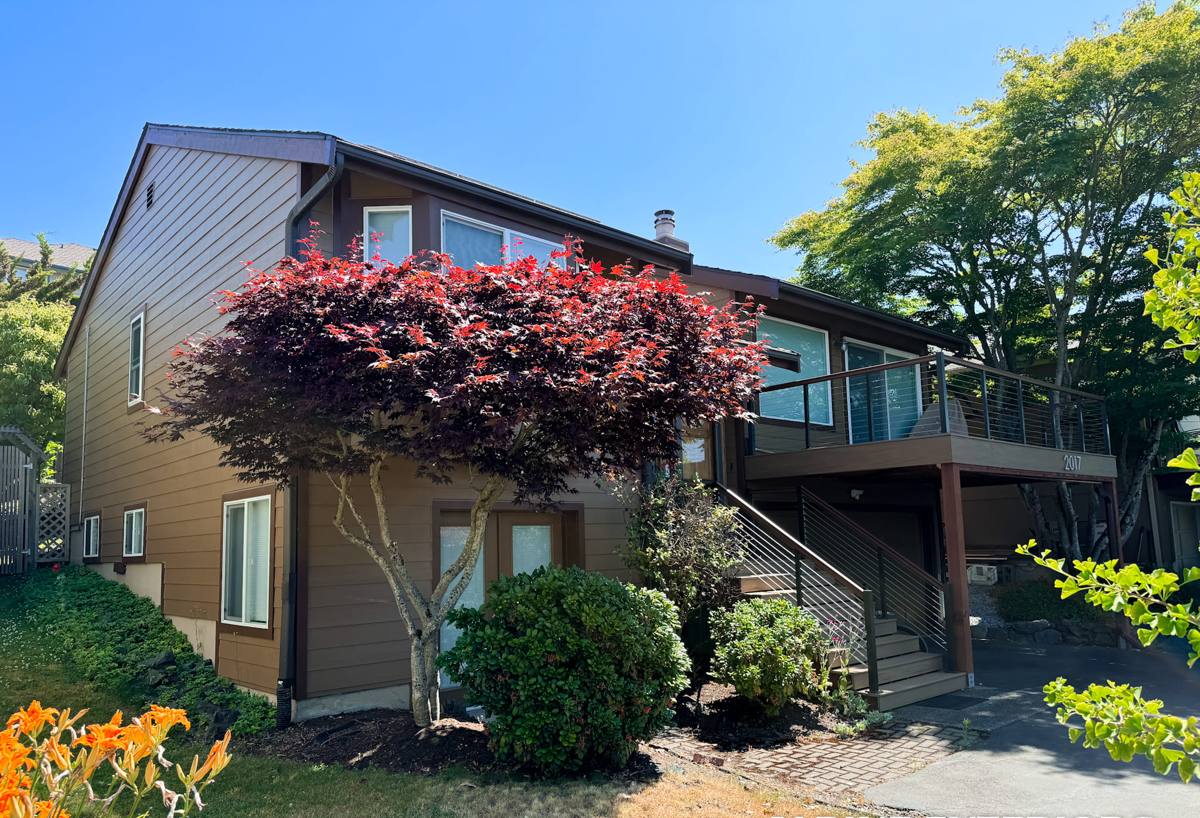
Signs Your Barkley Home's Windows Need Attention
Most window failures in this area don't show up as a shattered pane — they show up as slow, quiet moisture and air problems. Homeowners in Barkley usually notice one or more of the following before they call:
- Fogging or a permanent haze between the panes of a double-pane window — the seal has failed and the gas fill is gone
- Soft or discolored wood trim around the window frame, especially on walls that face prevailing wind and rain
- A draft you can feel with your hand near the frame on a windy day, even with the window latched shut
- Visible mildew or a musty smell in the wall cavity below or beside a window
- Paint that keeps bubbling or peeling on the interior sill no matter how many times it's repainted
- Difficulty opening, closing, or latching windows that used to operate smoothly
- Noticeably higher heating bills in a home that hasn't changed its usage habits
Any one of these on its own might just mean a single window needs attention. Several of them across a home, especially on the same exposure, usually points to a flashing or installation issue rather than a product defect — which is a distinction worth getting right before you spend money on replacements.
What a Correct Window Installation Actually Involves
Flashing and the Weather Barrier
The window unit itself is rarely the weak point in a failed installation — the flashing detail around it usually is. In a climate where wind can drive rain sideways under a poorly lapped flashing, the sequence matters: sill pan flashing goes in first to catch any water that gets past the window, side flashing laps over that, and the top flashing laps over the sides, tying into the house wrap or weather-resistive barrier above. Skip or reverse any of those laps and water has a path straight into the wall cavity, where it can sit unnoticed for years.
Sizing and Fit
Whether it's a full-frame replacement or a retrofit into an existing opening, the rough opening needs to be square, level, and properly sized with the right shim gap around the unit. A window that's forced into an opening that's slightly out of square will bind, won't seal evenly, and puts stress on the frame that shortens its service life.
Insulation and Sealing
The gap between the window frame and the rough opening needs to be filled with a low-expansion foam or backer rod and sealant designed for that purpose — not packed solid with standard foam, which can bow the frame and cause operational problems. Interior and exterior sealant beads need to be continuous, with the right gaps left for drainage where the manufacturer specifies it. This is one of the easiest steps to rush and one of the most consequential to get right.
Choosing Window Materials for Whatcom County Conditions
Material choice matters more here than in drier climates because everything is exposed to sustained moisture and salt air for months at a stretch. Here's how the common options generally compare for this kind of exposure:
| Material | Moisture Performance | Maintenance | Typical Trade-offs |
|---|---|---|---|
| Vinyl | Won't rot; handles moisture well | Low — occasional cleaning | Lower cost, fewer color options, frame can expand/contract with temperature swings |
| Fiberglass | Excellent — very stable in wet, variable climates | Low | Higher upfront cost, narrower dealer network |
| Wood-clad | Good if cladding and flashing are done correctly; interior wood still needs protection | Moderate to high | Classic look, but any breach in the exterior cladding exposes wood to rot over time |
| Aluminum | Durable but conducts cold and can condense in our damp winters | Low | Thin sightlines, but generally the least energy-efficient option in this climate |
We don't push one material as universally "best" — a lot depends on your home's style, your budget, and how much upkeep you want to take on. What we won't do is install a product in a way that ignores how it actually behaves in sustained coastal moisture, regardless of what the marketing says. If a material needs extra flashing attention or a maintenance routine to perform well here, we'll tell you that upfront.
New Construction vs. Retrofit (Pocket) Replacement
Full-Frame (New Construction) Replacement
This removes the old window down to the rough opening, including the old frame and flashing, and rebuilds the flashing system from scratch. It's more labor, but it's the right call when there's existing rot, when the flashing is clearly failing, or when you're changing the window size or style. In a climate like ours, if there's already been water intrusion, a full-frame replacement is usually the only way to actually fix the underlying problem instead of sealing over it.
Retrofit (Pocket) Replacement
This installs a new window inside the existing frame, which is faster and less invasive when the existing frame and flashing are sound. It works well on homes where the surrounding siding or trim is in good shape and you're primarily addressing an old, inefficient window rather than a structural or moisture problem. We'll only recommend this approach when an inspection shows the existing opening is actually dry and solid — not as a default shortcut.
Our Installation Process
Every job follows the same basic sequence, adjusted for the specifics of your home:
- Assessment — We look at the existing windows, the surrounding trim and siding, and check for any signs of moisture or rot before recommending full-frame or retrofit replacement.
- Product selection — We walk through material, glass, and performance options based on your home's exposure and your budget, without upselling a product your home doesn't need.
- Removal and prep — Old units and, where necessary, damaged framing or sheathing are removed and the opening is inspected and repaired before anything new goes in.
- Flashing and installation — Sill pan, side, and head flashing are installed in the correct lapped sequence, the new window is set square and shimmed properly, and low-expansion insulation and sealant are applied.
- Interior and exterior finish — Trim, caulking, and paint or stain touch-up are completed to match the surrounding finish.
- Final walkthrough — We test operation, check the seal by hand, and walk you through anything you should watch for as the caulk and finishes cure.
What Window Installation Typically Costs
Pricing depends heavily on window count, size, material, and whether it's a retrofit or full-frame job. Rather than a single number, it's more useful to understand what moves the price:
| Factor | Why It Matters |
|---|---|
| Full-frame vs. retrofit | Full-frame involves more labor, flashing work, and sometimes trim or siding repair |
| Window material | Vinyl is generally the most budget-friendly; fiberglass and wood-clad cost more |
| Glass package | Double vs. triple pane, and coatings like low-E, affect both cost and energy performance |
| Existing damage | Rotten framing or sheathing found during removal adds repair scope |
| Number and size of openings | Larger or custom-sized windows cost more than standard sizes |
We give straightforward, itemized estimates so you can see what you're paying for and where — not a vague lump sum.
Why a Crew That Already Works in Barkley Matters
Window installation isn't a one-size-fits-all trade, and a crew that regularly works homes in and around Barkley has already seen how this specific stretch of Bellingham behaves — which walls take the worst of the wind-driven rain, how quickly moss and moisture build up on north- and west-facing exposures, and which older flashing details tend to fail first. That experience shows up in small decisions on the job: how tight to run a bead, where to add an extra layer of protection, when a retrofit is genuinely appropriate versus when it's cutting a corner. A crew unfamiliar with Whatcom County's year-round moisture load is more likely to install a window correctly for a drier climate and incorrectly for this one.
If your windows are drafty, fogged, sticking, or just old enough that you're wondering whether it's time, we're happy to take a look and give you a straightforward, no-pressure estimate — no obligation, just an honest read on what your home actually needs. Use the form below to get started.