 Bellingham Siding
 Building New in Birch Bay Changes How the Windows Go In
Birch Bay sits right on the Whatcom County coastline, and lots there — whether waterfront, near-waterfront, or a few streets back — see conditions that inland Bellingham builds simply don't deal with as hard or as often. Salt-laden air, wind-driven rain off the water, and a moss season that runs long into the year all put extra stress on a home's envelope. When you're building new, the window installation happens at the one point in the process where you can get the water management right from the start — before siding, trim, and paint cover up the details that matter most. Get that stage wrong and you're not looking at a cosmetic problem down the road; you're looking at rot, mold, and a callback that costs far more than doing it correctly the first time.
We install new-construction windows on builds throughout Whatcom County, and Birch Bay jobs get treated differently from the start. The framing crew, the builder's schedule, and the exposure of the specific lot all factor into how we sequence the work and what details we won't skip.
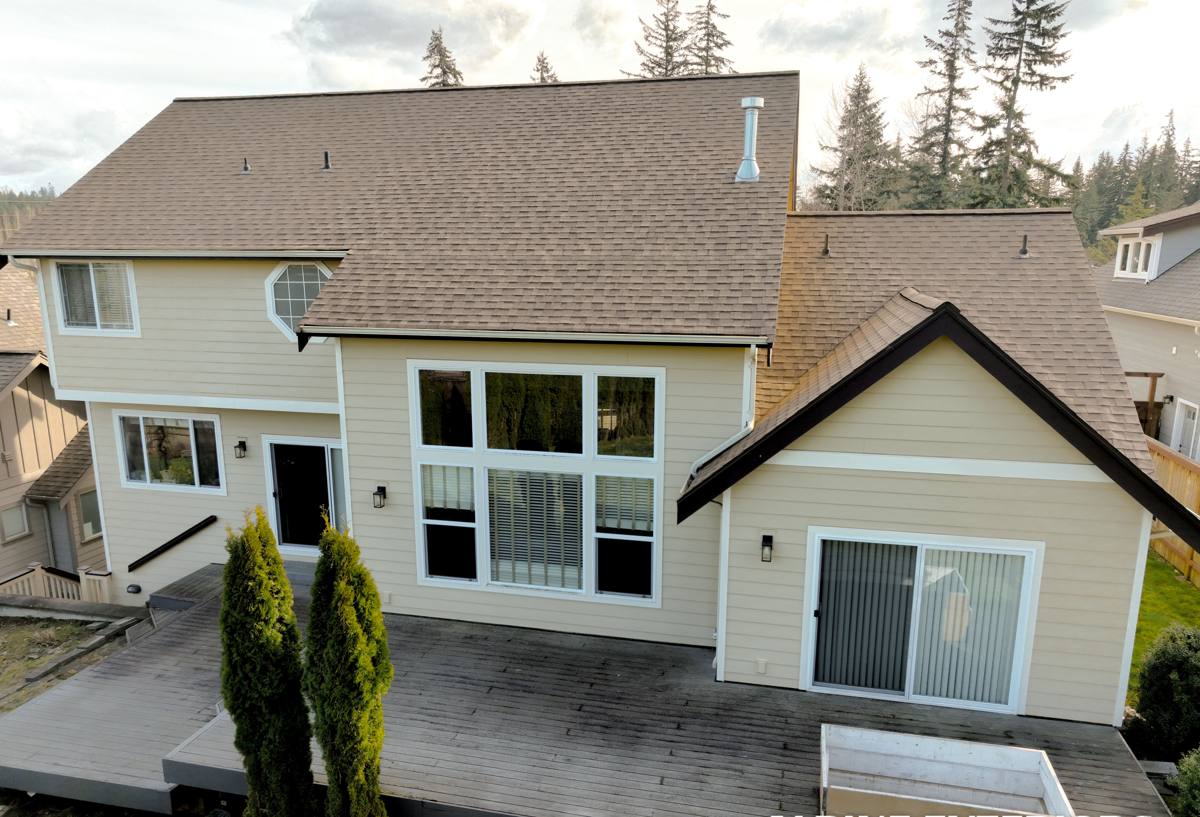
New-Construction Windows Aren't the Same Job as Replacement Windows
It's worth being clear about what "new-construction windows" actually means, because the term gets used loosely. A new-construction window has a nailing fin around the perimeter of the frame and is designed to be installed into a rough opening before the exterior wall is finished — while the sheathing, weather-resistive barrier (WRB), and framing are still exposed and accessible. That's different from a replacement or retrofit window, which gets fit into an existing opening with the surrounding trim, siding, and interior finishes already in place.
The advantage of new construction is access. We can build the flashing and drainage details in layers, in the correct order, with nothing in the way. That's the whole point of doing it during the build instead of retrofitting later — and it's also why cutting corners at this stage is such a waste. Once the siding goes on, those details are buried for the life of the house.
Why This Matters More on a Birch Bay Lot
An inland opening that's slightly imperfect might get away with it for years because it isn't tested by much wind-driven rain. A Birch Bay opening facing the water gets tested every winter. Marginal flashing work that would go unnoticed on a sheltered lot in town shows up as a leak on a coastal one — sometimes within the first wet season.
What the Coastal Climate Actually Does to a Window Opening
A few things are specific to Birch Bay and the rest of the Whatcom County coastline, and they change how we approach the install:
- Salt air accelerates corrosion on fasteners, hardware, and any exposed metal flashing that isn't rated for coastal exposure — cheap or mismatched hardware fails faster here than inland.
- Wind-driven rain pushes water sideways and upward against the wall, not just straight down, which means gravity alone can't be relied on to keep water out. Flashing has to be lapped and sealed to shed water uphill of any seam.
- A long moss and algae season means north- and west-facing surfaces stay damp longer between dry spells. Any water that gets behind the WRB doesn't get a chance to dry out the way it might in a drier interior climate.
- Persistent humidity raises the stakes on interior condensation control, especially on unheated portions of a new build during construction, before HVAC and insulation are fully operating.
None of this means Birch Bay is a bad place to build — it just means the margin for error on flashing, sealant, and material choice is smaller than it is a few miles inland.
Water Management Is the Part That Actually Prevents Problems
Everything else about a window — brand, style, glass package — matters less than whether water is kept out of the wall assembly. On a new-construction install, that comes down to a handful of steps done in the right order:
- Sill pan flashing under the rough opening, sloped to drain outward, so any water that does get past the window has somewhere to go besides the framing below it.
- Shingle-lapped flashing tape around the jambs and head, integrated with the WRB so water is always directed down and out, layer over layer, the way shingles on a roof work.
- Head flashing above the window that ties into the WRB above it, breaking the path for water running down the wall.
- Backer rod and sealant at the interior and exterior perimeter, sized and installed to allow for the frame's expansion and contraction without failing.
- Weep paths left clear so any incidental water inside the frame or sill has somewhere to exit rather than pooling.
This is the difference between an installation that's sealed with a bead of caulk around the trim and one that's actually engineered to manage water. The first approach can look fine for a year or two. The second is what holds up through a Birch Bay winter.
Choosing a Frame Material for a Salt-Air Site
Material choice matters more on the coast than it does a few miles inland, mostly because of how each option handles moisture and salt exposure over time. We'll walk through the trade-offs honestly rather than push one option — the right call often depends on the specific lot, the home's design, and the owner's maintenance appetite.
| Frame Material | Coastal Durability | Maintenance | Notes for Birch Bay |
|---|---|---|---|
| Vinyl | Good — won't corrode or rot | Low | Solid, cost-effective default for most new builds; verify the specific product's coastal/UV rating |
| Fiberglass | Very good — dimensionally stable | Low | Handles temperature swings and moisture well; costs more than vinyl |
| Aluminum-clad wood | Fair to good, dependent on cladding quality | Moderate | Attractive option, but cladding seams and any wood exposure need extra attention near salt air |
| Wood (uncladded) | Weakest in this exposure | High | We generally steer new coastal builds away from this unless it's fully protected — regular refinishing becomes a real commitment near the water |
Hardware is worth a second look regardless of frame material. Corrosion-resistant hinges, locks, and fasteners cost a little more up front and save real frustration a few years in — this is one place where we won't downgrade to save a small amount on the material list.
Energy Performance in a Coastal, Marine Climate
Whatcom County builds fall under Washington's state energy code, and your builder's plans will already specify the window performance needed to pass permitting and inspection — U-factor and solar heat gain coefficient (SHGC) requirements vary by how the window is used in the design (glazing percentage, orientation, and so on). Our job on the installation side is to make sure the product actually delivers the performance it's rated for, which starts with a properly sealed, properly insulated rough opening. A well-rated window installed with gaps around the frame will underperform its own label.
A few practical notes for this climate specifically:
- Double-pane, low-E glass is the standard baseline for new construction here; triple-pane is worth discussing for west- or north-facing waterfront exposure where wind load and heat loss are both higher.
- Condensation resistance matters more near the coast, where interior humidity tends to run higher — this is a spec worth asking about, not just U-factor.
- Framing and insulation around the rough opening affect performance as much as the glass package does; an inconsistent thermal boundary shows up as cold spots and condensation at the frame edges.
How We Work With Your Builder
New-construction window installation is a scheduling job as much as a technical one. We coordinate directly with your general contractor or framing crew so windows go in at the right point — after the WRB is up and ready for integration, before siding closes everything in. On a Birch Bay job, we also factor in the specific lot's exposure: a west-facing waterfront elevation gets more attention to flashing detail and sealant selection than a sheltered lot set back from the water, even on the same street.
Before install day, we confirm rough opening sizes against the ordered window dimensions, review the WRB and flashing plan with the framer, and walk the site for anything unusual — unusually exposed corners, upper-story openings that take more wind load, or transitions where the window meets a different siding material. After installation, we walk the openings again before siding closes them in, because that's the last point anyone gets to catch a problem before it's covered for good.
What to Confirm Before Your Windows Go In
- Rough openings are framed square, plumb, and to the correct dimensions for the ordered windows
- The WRB is installed and ready to integrate with window flashing — not just stapled up and left
- Sill pan flashing is planned for every opening, not just the ones facing the weather
- Flashing tape and sealant products are compatible with both the window manufacturer's requirements and the WRB being used
- Hardware and fasteners are rated for coastal exposure, not a generic inland spec
- The installation schedule lines up with the WRB and siding sequence so nothing gets closed in early
- Someone is walking every opening after install, before siding covers it
If you're building in Birch Bay, or you're a builder looking for a window crew that already understands this stretch of coastline, we'd be glad to talk through your plans. Reach out for a free, no-pressure estimate using the form below — we'll look at your build and give you a straight answer on what it needs.