 Bellingham Siding
 Building New in Blaine Means Building for the Water
Blaine sits right where Drayton Harbor, Semiahmoo Bay, and the open water of the Strait of Georgia meet a stretch of Whatcom County that takes weather seriously. If you're framing a new home or addition here, the windows you choose and how they're installed matter more than they would twenty miles inland. Salt-laden air off the water accelerates corrosion on hardware and fasteners. Wind-driven rain doesn't fall straight down — it gets pushed sideways into wall assemblies during winter storms. And the long, damp shoulder seasons that let moss take over a north-facing roof will do the same thing to a window sill that wasn't flashed correctly.
New-construction windows are your one real chance to get this right from the studs out. Unlike a replacement window dropped into an existing opening, new-construction units integrate directly with the framing, the water-resistive barrier, and the siding. Mistakes made at this stage don't show up as a drafty room — they show up two or three years later as rot inside the wall cavity, and by then the fix means opening up finished walls.
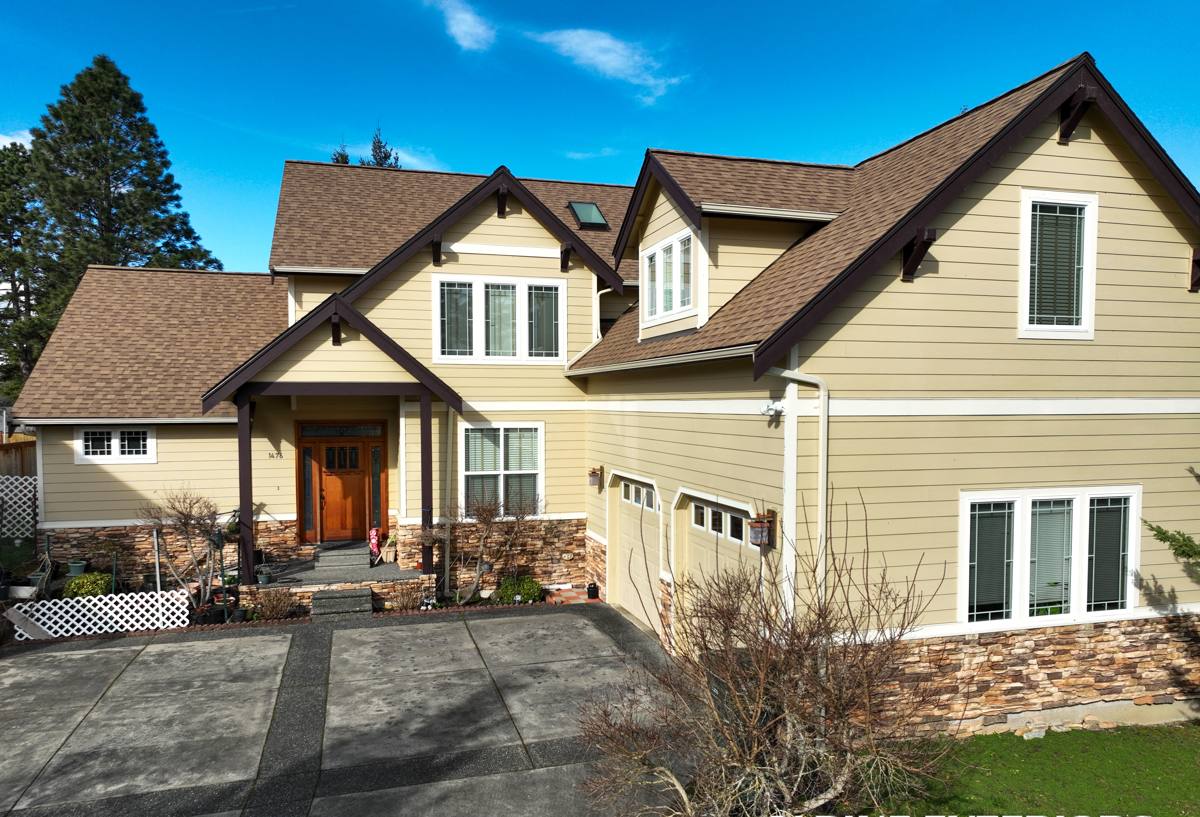
What "New-Construction" Actually Means
The term describes the window's frame design, not just the fact that it's going into a new house. A true new-construction window has a nailing fin (also called a nail flange) around the perimeter of the frame. That fin gets fastened to the sheathing before the weather-resistive barrier and siding go on, which lets it be flashed as part of the wall's drainage plane rather than sealed on top of finished siding after the fact.
This matters in Blaine specifically because our climate depends on a wall that can shed and drain water, not just resist it. A nail-fin window integrated properly into the WRB, with flashing tape and a sloped sill pan, gives water a path out even if a small amount gets past the exterior cladding — which it eventually will, in this kind of weather. A window installed as an afterthought, or flashed incorrectly, becomes the weak point where that water gets trapped instead of drained.
Nail-Fin vs. Block-Frame Installation
Some new builds — particularly homes with masonry, stucco, or certain fiber-cement details — use block-frame windows instead, which set into a rough opening without a nailing fin and rely on the frame itself plus sealant and flashing at the opening. Both approaches work when installed correctly for the wall assembly they're designed for. The mistake we see most often isn't picking the wrong type — it's using nail-fin flashing details on a block-frame opening, or vice versa, because a crew defaulted to whatever they installed on the last job instead of matching the method to the wall.
What Blaine's Climate Demands from the Install
Salt Air and Hardware Corrosion
Homes within a mile or two of Semiahmoo Bay or Drayton Harbor see faster corrosion on exposed metal than homes further inland. This shows up first in cheap fasteners, uncoated flashing, and window hardware that wasn't rated for coastal exposure. We spec corrosion-resistant fasteners and flashing at every install in this area, not just the ones closest to the water, because salt carries further inland on wind than most people expect.
Wind-Driven Rain
Blaine's winter storms bring rain sideways, not straight down. That means the sill pan and the flashing at the head and jambs of the window have to do real work, not just look correct. A sill pan with a back dam and a slight outward slope, taped head flashing that overlaps the WRB shingle-style (upper layers over lower layers, always), and properly lapped jamb flashing are non-negotiable details here — they're the difference between a window that sheds a wind-driven storm and one that leaks into the wall.
Moss, Moisture, and Slow-Drying Assemblies
Whatcom County's long wet season doesn't just grow moss on roofs — it keeps wall assemblies damp longer than a drier climate would. That's why the WRB detailing and any housewrap tape used around the window opening need to be rated for long-term moisture exposure, and why we don't rush the sequencing on a job during a wet stretch. Windows installed into a wall system that hasn't had a chance to dry, or taped with materials that fail under sustained damp conditions, are a slow-motion problem you won't see until much later.
Choosing the Right Window for a Blaine New Build
Frame material, glass package, and energy performance all matter, but they matter differently here than they would in a dry inland climate. The table below reflects how we talk through material choice with clients building near the water.
| Frame Material | Salt-Air / Corrosion Behavior | Maintenance | Typical Cost Range |
|---|---|---|---|
| Vinyl | Good — no metal to corrode, though hardware quality varies by manufacturer | Low — occasional cleaning | Lowest of the three |
| Fiberglass | Very good — dimensionally stable, holds paint well, resists coastal weathering | Low to moderate | Mid to upper-mid |
| Wood-Clad | Depends heavily on cladding integrity — any breach exposes wood core to moisture | Higher — cladding and interior wood need monitoring | Highest |
We're honest with clients about wood-clad windows in this specific location: they look excellent and perform well when the cladding stays intact, but any gap, scratch, or failed seal lets moisture into the wood core, and in a climate this wet that problem compounds quietly. It's not that the product is bad — it's that it demands more long-term attention than a coastal new build usually gets, especially on lower floors closer to grade and salt spray. Fiberglass and quality vinyl carry less of that risk with less upkeep, which is why we recommend them more often for homes directly exposed to the water.
Glass and Energy Performance
For Blaine's climate — mild temperatures but persistent cloud cover, wind, and moisture — we generally spec double-pane, low-E glass with argon fill and a U-factor that meets or beats current Washington State Energy Code requirements for our zone. Solar heat gain coefficient matters less here than it does in a sunnier climate, but a good low-E coating still helps keep west-facing rooms comfortable during the clearer summer stretches and reduces condensation risk on the interior glass during cold, damp winter mornings.
How Our New-Construction Window Process Works
1. Plan Review and Window Schedule
We review the architect's or builder's plans, confirm rough opening sizes, and finalize a window schedule — sizes, operating types, glass specs — before framing is locked in. Catching a mismatch here is a phone call; catching it after framing is a change order.
2. Coordination with the Build Sequence
Windows go in after the wall sheathing and WRB are up, before siding starts. We coordinate timing with your builder or GC so the opening is ready, dry, and flashed with sill pan material before the window ever sets.
3. Set, Flash, and Seal
Each window is set plumb, level, and square, fastened per manufacturer spec, then flashed in the correct shingle-lap order — sill pan, jambs, head — tied into the WRB so water sheds down and out, never into the wall.
4. Interior and Exterior Finish Prep
We leave the opening ready for the trades that follow: interior insulation and trim, exterior siding and trim, with all flashing details documented so nothing gets covered up as a mystery later.
5. Final Check
Before we call it done, we walk every opening — operation, seal, flashing lap, fastener corrosion resistance — so there's nothing to revisit after the siding closes it in.
Why a Crew That Already Works Blaine Matters
A contractor who mostly works drier, inland jobs can install a technically correct window and still get the flashing sequence wrong for a coastal wind-driven-rain climate, because it's never been tested the way Blaine tests it. Crews who work Whatcom County's coastal communities regularly know which fastener grades hold up near Semiahmoo Bay, which flashing tapes actually stay adhered through a wet Blaine winter, and how to sequence a job around this area's weather windows instead of fighting them. That local pattern recognition is hard to fake and expensive to learn on your house.
Before You Sign Off: A Homeowner's Checklist
- Confirm whether your windows are nail-fin or block-frame, and that the flashing method matches
- Ask what fastener and flashing materials are being used, and whether they're rated for coastal salt exposure
- Verify the sill pan has a back dam and slopes outward, not flat or toward the house
- Check that flashing is lapped shingle-style — sill first, then jambs, then head — tied into the WRB
- Confirm U-factor and glass package meet current Washington State Energy Code for our climate zone
- Ask to see the window schedule against the actual rough openings before installation begins
- Get manufacturer warranty documentation in writing, separate from the installer's workmanship warranty
A Straightforward Recommendation
If you're building new in Blaine, treat window installation as structural, not cosmetic. The frame material you choose and the flashing details underneath it will quietly determine whether your walls stay dry for the next thirty years or start hiding a moisture problem within five. Get the sequencing right, use materials rated for salt air and driving rain, and work with a crew that treats this coastline's weather as the baseline, not the exception.
If you'd like a straightforward look at what your new build needs — no pressure, no sales script — reach out for a free estimate using the form below.