 Bellingham Siding
 New-Construction Windows Are a Different Job Than Replacement
Homeowners often lump "new windows" into one category, but installing windows in a new build or a full addition is a different trade than swapping old windows for new ones in an existing wall. In a replacement job, the window has to fit into an opening that's already framed, flashed, and sided — the installer works around what's there. In new construction, the window goes in raw, unfinished framing before the weather-resistant barrier, flashing tape, and siding are applied. That means the window installer isn't just setting a unit level and plumb — they're building the first layer of the home's water-management system.
For a build in Edgemoor, that distinction matters more than it would somewhere drier and more sheltered. This part of Whatcom County sits close enough to Bellingham Bay that wind-driven rain and salt-laden air are a regular part of the weather cycle, and the tree cover common to the neighborhood keeps things shaded and damp for a good stretch of the year. Windows installed correctly at the framing stage will handle that for decades. Windows installed even slightly wrong — a missed flashing lap, a gap in the sill pan, a fastener that shouldn't be there — tend to show it as rot or staining within a few winters, and by then the problem is hidden behind finished siding and interior trim.
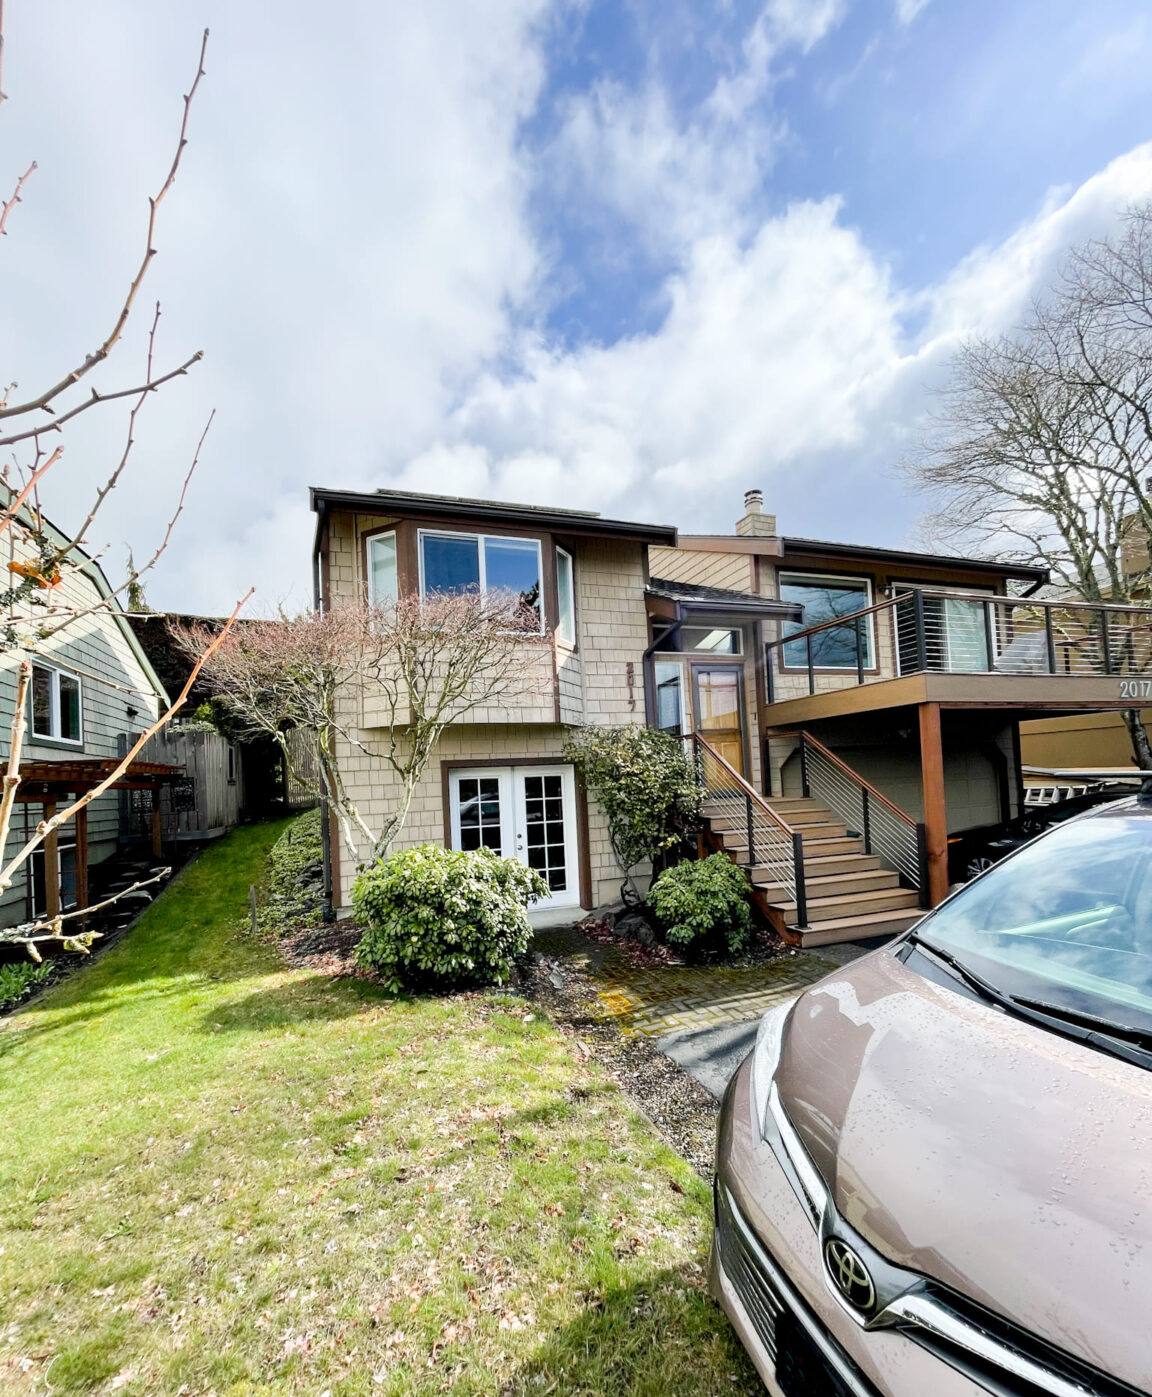
What Edgemoor's Location Does to a Window Over Time
Salt Air and Corrosion
Proximity to the bay means airborne salt settles on exterior surfaces, including window hardware, screen frames, and cladding. Over years, salt exposure accelerates corrosion on lower-grade fasteners, hinges, and roller tracks, and it can pit unprotected aluminum. It's rarely dramatic — nobody notices a window "failing" from salt air in year one — but it shows up as sticky operation, discolored hardware, and premature finish breakdown well before the glass or frame itself would otherwise need attention.
Wind-Driven Rain
Bellingham's weather doesn't just rain straight down; storms off the Strait and the bay push rain sideways against west- and south-facing walls. A window that's watertight in a light, vertical rain can still leak under wind-driven conditions if the flashing details weren't built to handle lateral water pressure. This is a framing-stage issue almost every time — it's about how the sill pan, jamb flashing, and head flashing are layered, not about the window unit itself.
Moss and Standing Moisture
Long, mild, wet stretches with limited direct sun — especially on shaded or tree-covered lots — are exactly the conditions moss and algae need. On windows, that shows up as green or black growth on sills, in track channels, and along horizontal trim where water sits instead of draining. Left alone, that moisture holds against wood trim and sealant joints and shortens their life. It's a maintenance issue more than a structural one, but it's one that's easy to design around at install time with the right sill slope and drainage detailing.
Choosing a Window Material for a Waterfront-Adjacent Build
There's no single "right" window material for every new build — it depends on budget, architectural style, and how exposed the wall is to weather. For a property in or near Edgemoor, corrosion resistance and moisture behavior deserve extra weight in that decision. Here's how the common new-construction options compare for this specific climate:
| Material | Salt Air / Corrosion Resistance | Moisture & Rot Behavior | Maintenance | Typical Cost Position |
|---|---|---|---|---|
| Vinyl | Good — won't corrode or rust | Won't rot; check weep holes stay clear | Low — occasional cleaning | Entry to mid-range |
| Fiberglass | Very good — dimensionally stable, resists pitting | Won't rot; holds paint/finish well over time | Low | Mid to upper-mid |
| Aluminum-Clad Wood | Good on the exterior clad face; interior wood needs protection from condensation | Wood core can be vulnerable if seals fail | Moderate — watch interior sills and joints | Upper-mid to high |
| Bare Aluminum | Fair — can pit and corrode faster near salt air unless properly coated | Won't rot but conducts cold and can condensate | Moderate | Varies widely |
We don't push one material as the "only" answer for every Edgemoor build. What we do steer away from is bare, uncoated aluminum in a directly salt-exposed wall — not because it's a bad product everywhere, but because in this specific microclimate the maintenance burden and pitting risk outweigh the upfront savings for most homeowners. Vinyl and fiberglass both perform well here and cover most budgets; aluminum-clad wood earns its higher cost on architectural styles where a true wood interior look matters and the homeowner is comfortable with the added maintenance.
Flashing and Water Management: Where New Installs Succeed or Fail
The window unit itself is rarely what fails. What fails is the sequence of materials around it — and in new construction, that sequence has to be built in the right order, by hand, before anything covers it up. A correct installation follows roughly this layering, working from the rough opening outward:
- Rough opening is checked for square, level, and correct dimensions before the window ever shows up on site.
- A sloped sill pan flashing is installed at the bottom of the opening so any water that gets past the window drains back out, not into the wall cavity.
- The weather-resistant barrier (WRB) is cut and integrated with the opening using a "shingle-lap" method — each layer overlaps the one below it, the same way roof shingles do, so water is always directed down and out.
- The window is set, shimmed level and plumb, and fastened per the manufacturer's schedule — not just "wherever it holds."
- Jamb and head flashing tape are applied over the nailing fin, lapped correctly with the WRB above and beside it.
- The rough opening gap is sealed and, where called for, insulated — without over-packing it, which can bow the frame.
- Exterior trim and siding are installed last, over a completed, tested drainage plane.
Skip or reverse any of those steps and the window can look perfect for years while water is quietly getting behind the WRB. That's the failure mode we see most often when we're called in to diagnose a leak in a home that's only a few years old — not a bad window, but a flashing detail that was installed out of sequence.
Energy Code and Performance for This Climate
Washington's state energy code sets minimum performance requirements for new-construction windows, and those requirements are checked at permit and inspection — this isn't optional trim-level detail, it's part of getting the build signed off. Two numbers matter most:
- U-factor — how well the window resists heat loss. Lower is better for our winters, and it's the number that matters most for comfort near large window walls or window seats in a cool, damp climate.
- SHGC (Solar Heat Gain Coefficient) — how much solar heat passes through the glass. On shaded, tree-covered lots this matters less for overheating and more for making the most of what sun does reach the glass; on open, bay-facing exposures it's worth balancing against glare and summer heat gain.
Beyond the code minimums, it's worth thinking about orientation lot by lot. A window wall facing the bay gets different sun, wind, and rain exposure than one tucked under mature trees on the same street — the right glass package can differ even between two homes a block apart.
How We Work With Your Builder or GC
On a new build, window installation isn't a standalone job — it has to slot into the framer's, siding crew's, and sometimes the window manufacturer's timelines without holding anyone up. We coordinate directly with your general contractor or builder on:
- Confirming rough opening sizes against the approved window schedule before units are ordered, so nothing shows up the wrong size.
- Scheduling install for the window between dry-in of the WRB and the start of siding — not before the barrier is ready, not after siding has already gone up around the opening.
- Matching flashing materials and methods to whatever WRB and siding system the builder is using, so the layers actually work together instead of fighting each other.
- Walking each opening before trim and siding cover it, so any flashing issue gets caught while it's still an easy fix.
- Documenting the install for the builder's records, which matters for warranty coverage on both the windows and the broader building envelope.
If you're an owner-builder or working with a smaller GC who wants a specialist for this one piece of the job, that's a normal role for us to fill — we're used to being the window trade on someone else's job site, not just running our own crew start to finish.
Mistakes We Commonly Correct on New Builds
Most of the window problems we get called to fix in newer Edgemoor-area homes trace back to a handful of repeat issues:
| Common Issue | Why It Happens | What It Leads To |
|---|---|---|
| Sill pan skipped or flat instead of sloped | Treated as an optional step to save time | Water pools instead of draining, eventually finds a path into the wall |
| WRB taped in the wrong lap order | Crew unfamiliar with shingle-lap sequencing | Water tracks behind the barrier instead of over it |
| Fasteners in the wrong location on the fin | Manufacturer's fastening schedule not followed | Reduced wind and water resistance at the fin |
| Siding installed tight against the window with no reveal | Trim carpenter working ahead of window specs | Traps moisture, accelerates trim rot and paint failure |
| No allowance for expansion/contraction gap | Frame shimmed and sealed too tight | Frame bowing, operational hardware binding over time |
None of these show up on a walkthrough the week the windows go in. They show up two, five, or ten winters later — which is exactly why getting the install right the first time matters more than almost any other part of the build.
Why Hire a Crew That Already Works Edgemoor
A window installer who mostly works inland, drier parts of the state can do a technically correct install by the book and still miss details that matter here — how tight to run a reveal on a shaded, moss-prone elevation, which sealants actually hold up under sustained damp and salt exposure, or how much slope a sill really needs on a wall that takes rain sideways most winters. None of that is exotic knowledge, but it's the kind of judgment that comes from having installed and later serviced windows on homes in this specific stretch of Whatcom County — not from a spec sheet.
There's also a practical coordination benefit. A crew that regularly works Bellingham-area new construction already knows the local building department's inspection expectations, works well with framers and siding crews used to the same standards, and isn't learning the regional weather on your job. That familiarity tends to show up as fewer surprises during inspection and fewer callbacks after move-in.
What to Expect After Move-In
Even a correctly installed window benefits from a little seasonal attention in this climate. Rinsing salt residue off exterior frames and hardware a few times a year, keeping weep holes and sill tracks clear of moss and debris, and doing a quick visual check of caulking and trim joints each fall before the rains set in will keep a well-installed window performing the way it's supposed to for its full service life. We're happy to walk new homeowners through what to watch for on their specific windows and siding combination.
If you're planning a new build or addition in Edgemoor and want windows installed the way this climate actually requires — proper flashing sequence, the right material for a salt-air, high-rain environment, and a crew that coordinates cleanly with your builder — we'd be glad to take a look at your plans and put together a free, no-pressure estimate. Use the form below to get started.