 Bellingham Siding
 Window Installation Built for Lynden's Climate
Lynden sits in the wet, gray belt of Whatcom County that runs from the Bellingham lowlands out toward the Nooksack valley and the Canadian border. Homes here deal with a long, damp winter season, driving rain that comes in sideways off frequent storm systems, and a moss and mildew season that can stretch from October well into spring. Salt-laden air moving inland off the Sound adds another layer of wear on window hardware and finishes, even for homes that aren't right on the water. Windows that were fine for the first ten or fifteen years of a home's life often start showing their age exactly because of this combination — not from one dramatic failure, but from years of moisture finding small gaps and never fully drying out.
Window installation done right in this area isn't just about picking a product you like the look of. It's about how that window gets sealed into the wall, how water is directed away from the opening, and whether the materials chosen can handle sitting wet for days at a time without swelling, rotting, or growing mold. We've installed and replaced windows on homes throughout Lynden and the surrounding county, and the failures we get called out to fix almost always trace back to installation shortcuts, not the window brand itself.
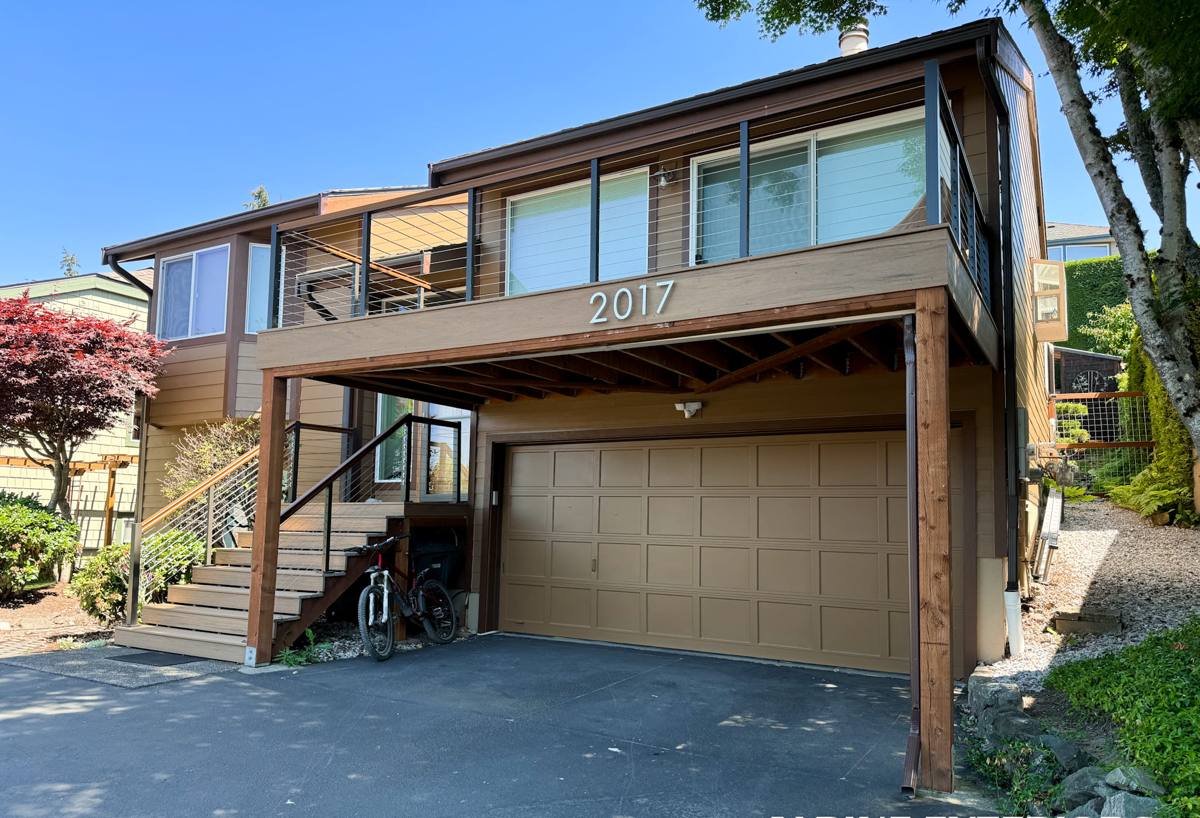
Signs Your Windows Need Attention
Window failure in this climate is usually slow and quiet before it becomes expensive. Homeowners in Lynden should watch for:
- Fogging or a permanent haze between the panes, which means the seal between the glass layers has failed
- Soft or discolored trim, sill, or drywall around the window frame
- Windows that are hard to open, close, or lock — often a sign the frame has swollen or shifted
- Visible daylight or a draft you can feel around the frame on a windy day
- Condensation forming on the inside of the glass regularly, even in mild weather
- Moss, algae, or black staining building up on the exterior trim or sill faster than on the rest of the siding
- A noticeable rise in heating costs without any other explanation
Any one of these on its own might just mean an old window is due for replacement. Several of them together, especially soft trim or staining, usually point to water that's already gotten past the original installation and is doing damage you can't fully see yet.
What a Correct Window Installation Actually Involves
A window installation is really a small waterproofing project with a window in the middle of it. The window itself is often the easy part — the flashing, sealing, and integration with the existing wall assembly is where jobs succeed or fail over time.
Removal and Opening Prep
Old windows and any damaged or rotted framing around the opening need to come out cleanly. If we find soft sheathing, rot, or old water staining behind the trim during removal, that gets addressed before a new window ever goes in. Installing a new window into a wet or compromised opening just seals the problem behind new material.
Flashing and Water Management
This is the step that matters most in a climate with as much driving rain as ours. Flashing tape and sill pans need to be layered correctly — sill first, then jambs, then the head flashing over the top, shingled so water is always directed outward and down, never trapped behind the window. Skipping or rushing this step is the single biggest cause of the rot and mold calls we get on homes with windows less than ten years old.
Setting, Shimming, and Sealing
The window needs to be plumb, level, and square in the opening, shimmed so it isn't relying on the fasteners alone to hold its shape. Insulation around the frame should fill the gap without overpacking it, which can bow the frame inward. Exterior sealant goes on last, in the right locations — not as a substitute for proper flashing, but as a final line of defense.
Interior and Exterior Finish
Trim, casing, and any siding disturbed during the install get put back correctly, with attention to how water sheds off the top of the window rather than pooling against it.
Choosing the Right Window for a Lynden Home
Material choice matters more here than in drier climates, because whatever you choose has to tolerate months of damp air every year. There's no single "best" window for every home — it depends on your budget, your home's age and style, and how much upkeep you want to take on.
| Material | How It Handles Our Climate | Maintenance | General Price Range |
|---|---|---|---|
| Vinyl | Won't rot or corrode; performs well in damp conditions | Low — occasional cleaning | Lower to mid |
| Fiberglass | Very stable in wet/dry temperature swings, resists moisture well | Low | Mid to higher |
| Wood | Classic look but needs a sound, well-sealed exterior to avoid moisture damage | Higher — regular painting/sealing | Higher |
| Wood-Clad (wood interior, metal or vinyl exterior) | Good compromise — protected exterior face, warm interior look | Moderate | Higher |
| Aluminum | Durable but conducts cold and can show condensation without a thermal break | Low | Varies |
For most Lynden homes, we point people toward vinyl or fiberglass for straightforward moisture performance, and wood-clad options when a homeowner wants a specific interior look without taking on the maintenance of an all-wood window facing our weather. We'll walk through the honest trade-offs of each for your specific house rather than pushing one product line.
Glass and Energy Performance
Double-pane, low-E glass is the standard we recommend for this area — it cuts heat loss in winter and reduces the cold, drafty feel that older single-pane or early double-pane windows have. Argon-filled units add a modest efficiency boost. In a climate where heating runs a good portion of the year, glass performance has a real, ongoing effect on comfort and utility bills, not just curb appeal.
Our Window Installation Process
- On-site assessment — We look at your existing windows, framing condition, and any signs of past water intrusion before recommending anything.
- Honest recommendation — We'll explain material and glass options suited to your home and budget, without upselling products your house doesn't need.
- Written estimate — Clear scope and pricing before any work starts.
- Careful removal — Old windows and any compromised framing come out cleanly, with damage addressed before new windows go in.
- Proper flashing and sealing — Sill pan, jamb, and head flashing installed in the correct order for real water management, not just a bead of caulk.
- Precision setting — Windows shimmed plumb, level, and square, then insulated and sealed correctly.
- Finish work and cleanup — Trim and siding restored, site cleaned up, and a final walkthrough with you.
Why Local Experience Matters for This Job
Window installation looks similar on paper everywhere, but a crew that regularly works Whatcom County homes knows which failure points show up most often in this climate — where moss tends to build up and hold moisture against trim, which older home styles in the area were built with flashing details that don't hold up anymore, and how much driving rain a given wall orientation actually takes in a typical winter. That local pattern recognition is what tells us where to spend extra care on an install, rather than treating every window opening the same way a generic checklist would.
We also know the practical side of working in Lynden and the surrounding area — permitting expectations, typical home construction from different eras in the county, and how to schedule around our wetter months so installs aren't rushed during a storm window. A crew that only occasionally works this region doesn't build up that same working knowledge.
Maintenance After Installation
A correctly installed window in a good material still benefits from basic upkeep in this climate:
- Rinse pollen, dust, and salt residue off glass and frames a few times a year
- Check and clear weep holes on vinyl and fiberglass frames so water can drain out properly
- Inspect exterior caulking annually and touch up if it's cracking or pulling away
- Keep gutters and downspouts clear so runoff isn't sheeting directly down over windows
- For wood or wood-clad windows, reapply paint or sealant on the recommended schedule, especially on south- and west-facing exposures
None of this is heavy maintenance, but skipping it is how small issues in even a well-installed window turn into bigger ones over several wet seasons.
Get a Straightforward Estimate
If your Lynden home has windows that are fogging, drafty, sticking, or showing soft trim, it's worth having a local crew take a look before the next wet season adds to the damage. We'll give you an honest assessment of what your windows actually need — repair, partial replacement, or a full install — and a clear, no-pressure estimate to go with it. Use the form below to get started.