 Bellingham Siding
 Siding Repair in the Puget Area of Bellingham
Homes in and around the Puget area sit close enough to the water and the weather patterns that move through Whatcom County that siding takes a different kind of beating than it does further inland. Salt-laden air, wind-driven rain off the Sound, and the long stretch of gray, damp months that let moss and algae get a foothold all work on a home's exterior at once. When siding starts to fail here, it's rarely one clean problem — it's usually a combination of moisture intrusion, coating breakdown, and organic growth that's been building for a while before anyone notices from the street.
This page is about siding repair specifically for that environment: what actually goes wrong, what a repair needs to address to hold up, and how we approach the work when we're called out to a home in this part of Bellingham.
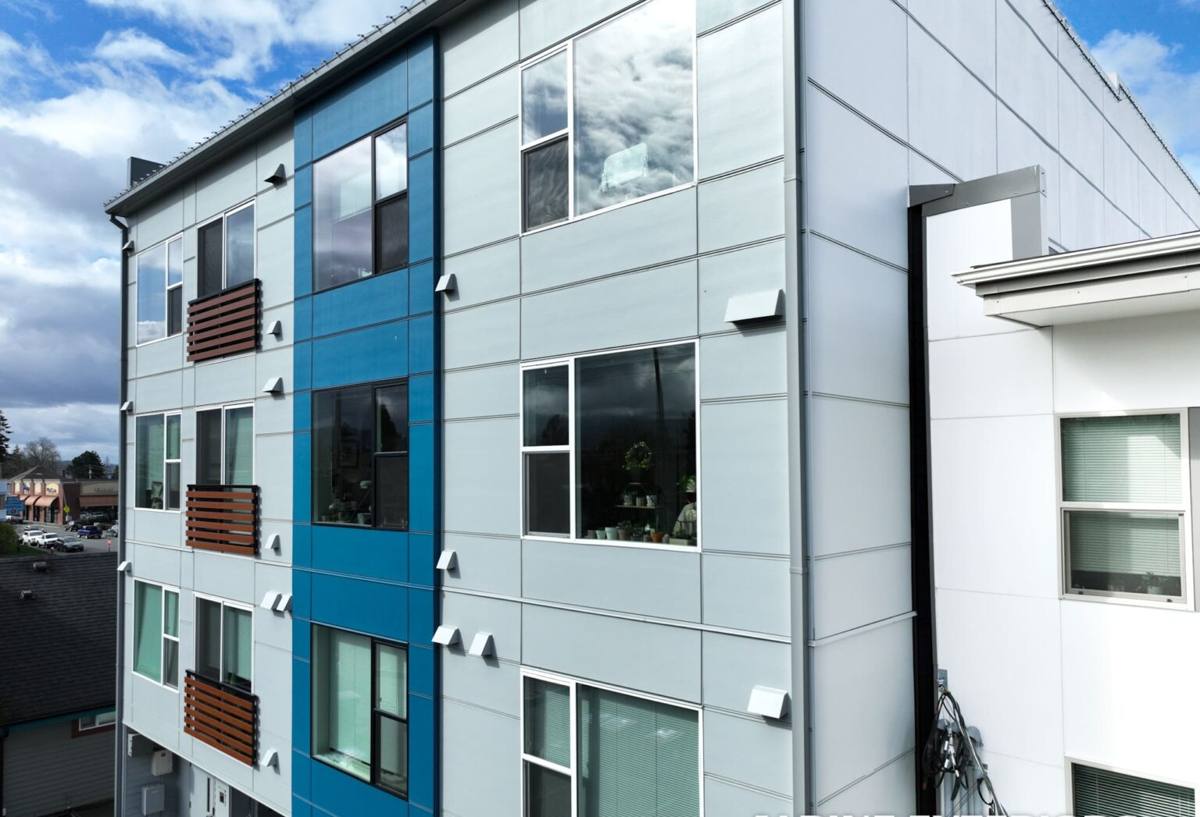
Why Siding Fails Faster Near the Water
Every siding material eventually needs attention, but the pace of that decline changes a lot depending on exposure. A few things stack up in the Puget area specifically:
- Salt air corrosion: Airborne salt accelerates the breakdown of fasteners, flashing, and unprotected wood trim, and it can chalk or dull paint finishes faster than inland exposure would.
- Driving rain: Wind off the water doesn't just drop rain straight down — it pushes it sideways into laps, seams, and butt joints that were only ever designed to shed water falling vertically.
- Extended moss and algae season: Cool, damp conditions for much of the year give moss, lichen, and algae a long runway to establish on north-facing walls, under eaves, and anywhere airflow is limited.
- Slow drying cycles: When siding gets wet from wind-driven rain, it doesn't always get a stretch of sun and dry air to fully dry out before the next system rolls through, which prolongs the time any absorbed moisture sits against the substrate.
Individually, none of these are dramatic. Together, over years, they're what turns a small gap in caulking into a soft spot in the wall, or a patch of surface moss into a moisture path behind the cladding.
What This Looks Like on an Actual Wall
In practice, the damage we're called out for in this area tends to show up as one or more of the following: swelling or delamination at panel edges and butt joints, dark streaking or green/black growth concentrated on shaded or north-facing elevations, caulk that has shrunk, cracked, or pulled away from trim, fastener heads that are rusting or backing out, and soft or spongy spots low on the wall near grade or below windows where water tends to collect.
What a Correct Siding Repair Actually Involves
A repair that just patches the visible symptom rarely holds up in this climate. The moss gets pressure-washed off, the caulk gets a new bead, and eighteen months later the same spot is back — because the underlying moisture path was never addressed. A repair done right has a few non-negotiable steps.
1. Find the Actual Entry Point, Not Just the Symptom
Discoloration or a soft spot on the surface is a symptom. The job is tracing it back to where water is actually getting in — a failed flashing detail, a gap where trim meets siding, a fastener that punched through in the wrong spot, or a caulk joint that's simply worn out. Repairing the visible spot without finding the entry point means the same failure comes back.
2. Check What's Behind the Siding
Any time we open up a section of damaged siding, we're looking at the water-resistive barrier, the sheathing, and the framing behind it before we button anything back up. If moisture has already reached the sheathing, patching the siding over it just traps the problem. This is the step that separates a repair that lasts from one that's cosmetic.
3. Match or Properly Transition the Material
Patching in a mismatched material, thickness, or profile creates its own future problem — different expansion behavior, a visible seam, or a new spot for water to collect. Where an exact match isn't available or practical, the transition needs to be planned so it sheds water correctly, not just look acceptable from a distance.
4. Reseal and Reflash Properly
Every joint that was opened gets flashed and sealed the way it should have been the first time — correct lap direction (working with gravity and prevailing wind, not against it), the right sealant for the substrate, and fasteners that won't corrode and telegraph rust stains within a couple of seasons.
5. Address the Growth, Not Just the Stain
Moss and algae removal that stops at cleaning the surface will come back within a season or two if the underlying moisture and airflow conditions aren't touched at all. Where it makes sense, that can mean adjusting nearby vegetation clearance, improving drainage away from the wall, or flagging a ventilation issue for the homeowner — not just power-washing and moving on.
Repair vs. Replacement: How to Tell Which You Need
Not every damaged section needs a full re-side, but repair also isn't always the economical choice once damage is widespread. Here's how we generally think about it:
| Situation | Usually Repair | Usually Replacement |
|---|---|---|
| Damage is limited to one or two isolated areas | Yes | |
| Moisture has reached framing in multiple locations | Yes | |
| Siding is under 10 years old and otherwise sound | Yes | |
| Original material is failing systemically (widespread delamination, chronic moss regrowth) | Yes | |
| Damage is cosmetic (surface growth, minor caulk failure) | Yes | |
| Repeated repairs to the same wall over a few years | Yes |
If we get on-site and find the damage is more extensive than what prompted the call, we'll tell you that directly, along with why — we're not going to patch over a wall that's going to need real work again in two years.
Why We Only Repair and Re-Side with James Hardie
When a repair does call for new material, we use James Hardie fiber cement — the same product line we install for full re-sides. We don't stock or install LP SmartSide, vinyl, Cemplank, Allura, or primed wood siding, and that matters most in exactly the conditions this area deals with. Hardie's fiber cement is non-combustible, doesn't absorb and swell the way wood-based or engineered wood products can when repeatedly exposed to driving rain, and its ColorPlus factory finish holds color and resists the chalking that salt air accelerates on field-painted surfaces. Its HZ5 product line in particular is engineered for the kind of moisture exposure this region sees. That consistency also means a repair patch matches the surrounding material both in performance and appearance far better than mixing in a different substrate would.
Our Process for a Puget-Area Repair Call
- Inspection: We walk the exterior, identify every affected area (not just the one you called about), and check behind the siding wherever there's visible damage.
- Assessment and honest scope: You get a clear explanation of what's causing the failure, what it will take to fix it correctly, and whether repair or a larger scope makes more sense.
- Moisture and structural check: Any area where water has reached the sheathing or framing gets addressed before new siding goes back on — no covering over hidden damage.
- Repair execution: Damaged material is removed, the substrate is corrected, new Hardie material is installed with proper flashing and fastening, and joints are sealed to spec.
- Final check: We confirm water is shedding correctly at every repaired joint and that the finished area matches the surrounding wall.
What to Watch for Between Now and Your Next Inspection
- Dark streaking or green growth concentrated on shaded or north-facing walls
- Caulk lines that have cracked, shrunk, or separated from trim
- Soft spots when you press gently on siding near grade or below windows
- Rust streaks running down from fastener heads
- Panels that look slightly warped, bowed, or separated at the edges
- Paint or finish that's chalking, peeling, or fading unevenly compared to other elevations
Catching any of these early is almost always cheaper than waiting — a caulk failure caught this season is a small fix; the same failure left through another wet Whatcom County winter can mean opening up the wall.
Why Local Experience Matters for This Work
Siding repair looks straightforward from the outside, but the correct fix depends on understanding how water actually moves across a wall in this specific environment — which elevations take the worst of the wind-driven rain, where salt air does the most damage to fasteners and finishes, and which spots are prone to moss regrowth if the underlying moisture issue isn't solved. A crew that works this area regularly isn't guessing at any of that; it's the same set of conditions on nearly every job. That's the difference between a repair that gets you through one more season and one that actually holds.
If you're seeing damage, staining, or moss buildup on your home's siding, we're glad to take a look and give you a straight answer on what it needs. Reach out for a free, no-pressure estimate — there's a form below to get started.