 Bellingham Siding
 Why Happy Valley Siding Takes a Different Kind of Beating
Happy Valley sits close enough to Bellingham Bay and the surrounding wetlands that homes here deal with a specific combination of stress most siding was never designed for: salt-laden air moving off the water, long stretches of driving rain pushed sideways by wind, and shaded, moisture-heavy yards that keep moss and algae going most of the year. None of these things alone is unusual for Whatcom County. Together, over years, they find every weak point in a siding system — a nail popped slightly proud, a caulk line that shrank, a corner where flashing was skipped to save time.
Repair work in this neighborhood isn't cosmetic touch-up. It's diagnostic work. The visible damage — a cracked board, a stained patch, a soft spot under a window — is almost always a symptom of moisture that got behind the cladding weeks, months, or years earlier. A repair that only addresses what's visible from the sidewalk tends to fail again within a season or two. A repair that traces the water back to its entry point is the only kind worth paying for.
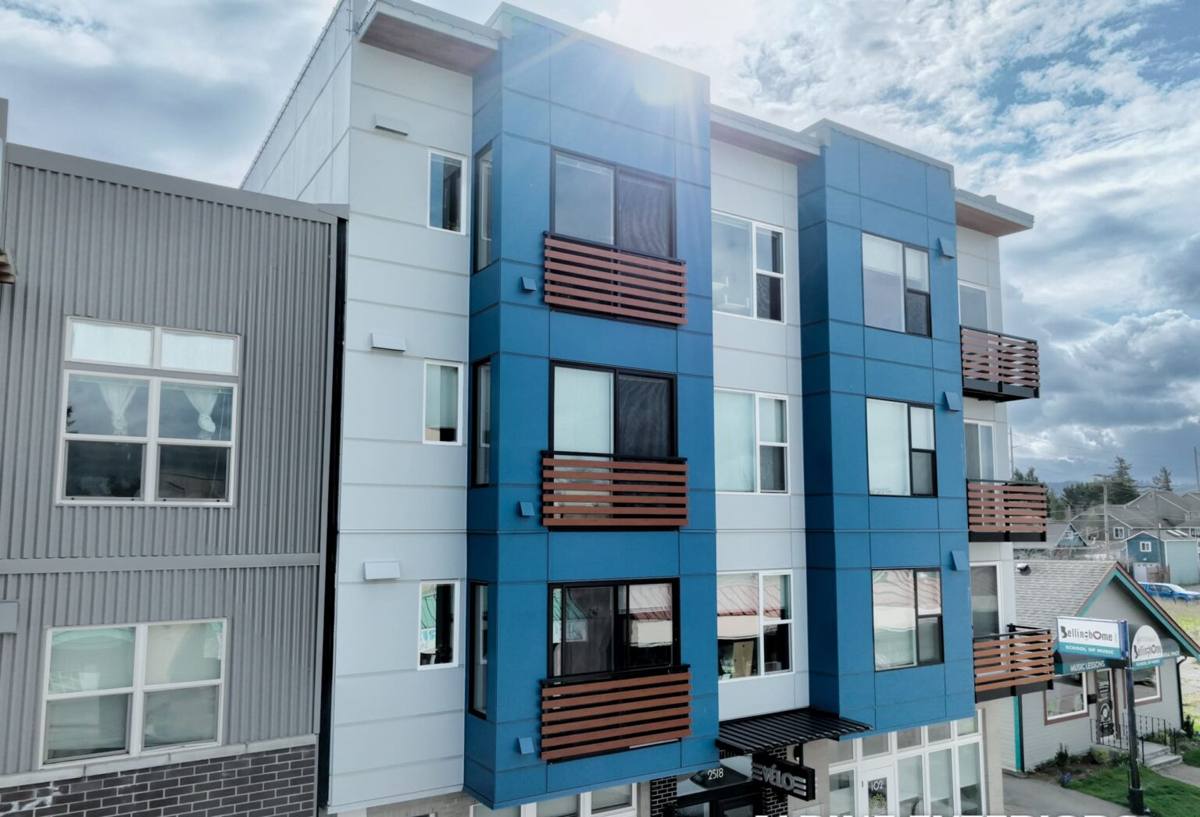
Signs a Happy Valley Home Needs Siding Repair
Some of these are obvious from the ground. Others take a closer look, which is part of why a proper repair visit starts with an inspection, not a quote pulled from a photo.
- Cracked, split, or bowed boards, especially on the side of the house that takes the most wind-driven rain
- Soft or spongy spots when you press on the siding near the bottom courses or below windows
- Paint that's peeling, bubbling, or failing in one localized area rather than evenly across the whole house
- Dark streaking or persistent moss and algae growth that comes back within weeks of cleaning
- Visible gaps at seams, corners, or trim where caulking has shrunk or pulled away
- Staining or a musty smell on the interior wall directly opposite a damaged exterior section
- Nail heads that have backed out or are visibly rust-streaking the siding face
- Any section that was patched before with a different material or a visibly different color
If more than one or two of these show up in the same general area of the house, that's usually a sign of a localized moisture problem rather than isolated wear — worth flagging clearly when you call for an estimate.
What a Correct Repair Actually Involves
Finding the Real Entry Point
Cracked siding is rarely the cause of water intrusion — it's usually the result of it. Wood or fiber cement that's already saturated from behind is far more likely to crack, warp, or fail at a seam. Before we replace anything, we pull back enough of the surrounding material to see what's happening underneath: is the weather-resistive barrier intact, is flashing present and lapped correctly above windows and doors, is there a gap where two trades' work never quite met up.
Checking the Water-Resistive Barrier and Flashing
This is the part that doesn't show in a driveway estimate but matters more than the siding itself. If the house wrap is torn, missing, or was never properly lapped, or if flashing above a window or at a roofline transition is missing or reversed, replacing the siding on top of it just resets the clock on the same failure. A repair that skips this step is patching a symptom.
Matching Material and Fastening Correctly
Once the moisture path is closed, the visible repair matters — matching board profile, exposure, and color, and fastening to manufacturer spec rather than whatever's fastest. Under-driven or overdriven nails, wrong fastener spacing, and butt joints without proper backing are common shortcuts that shorten the life of an otherwise sound repair.
Repair vs. Replacement: How We Decide
Not every damaged section needs a full re-side, and not every homeowner needs to be told they do. The honest answer usually comes down to how much of the underlying structure and weather barrier is compromised, and how much of the house is already showing the same pattern of wear.
| Factor | Leans Toward Repair | Leans Toward Replacement |
|---|---|---|
| Extent of damage | Isolated to one wall or a few sections | Recurring damage across multiple elevations |
| Water-resistive barrier condition | Intact once exposed, just needs re-lapping | Torn, missing, or degraded throughout |
| Age of existing siding | Under 10-15 years, sound elsewhere | Original siding nearing or past expected service life |
| Material match available | Existing product/profile still obtainable or close enough | Discontinued profile, mismatched color, or non-Hardie product we won't extend |
| Underlying framing | Sheathing and framing dry and sound | Rot or soft sheathing found once opened up |
We'll tell you plainly which side of that table your house falls on, and why — including when repair is genuinely the right, less expensive call.
Why We Only Repair With James Hardie Materials
We install James Hardie fiber cement exclusively, and that standard carries into repair work too. If your home currently has vinyl, LP SmartSide, cedar, or another fiber cement brand, we'll tell you honestly what a patch repair with a mismatched or lower-durability material will and won't do for you, and we'll be clear when we'd rather not simply patch a section with materials we don't stand behind long-term.
This isn't about the existing product being worthless — it's about what happens after a repair. Vinyl and engineered wood products expand, fade, and age differently than fiber cement, so a patch rarely blends invisibly and rarely ages at the same rate as the surrounding material. James Hardie's ColorPlus finish and HZ5 formulation, engineered for the Pacific Northwest's wet climate, hold color and resist moisture in a way that makes a repair — or a partial re-side of just the damaged elevation — a durable, matching fix rather than a visible patch job.
In some cases, the honest recommendation is to re-side the affected wall in Hardie rather than repair in a product we won't warranty. We'll walk through that trade-off with you directly rather than defaulting to whichever answer is easiest to sell.
Our Process, Start to Finish
1. On-Site Inspection
We look at the damage, the surrounding siding, and — where it's safe and non-invasive to check — what's happening behind the cladding. This is where we tell you if it's a repair or something bigger.
2. Written Scope and Estimate
You get a clear explanation of what we found, what we're fixing, and why, plus a number — not a vague range with surprises added later.
3. Opening Up and Verifying the Barrier
We remove the damaged material, inspect the water-resistive barrier and flashing, and correct anything compromised before anything new goes back on.
4. Matching Repair Installed to Spec
New James Hardie material, fastened and finished to manufacturer specification, matched as closely as possible to your existing siding.
5. Cleanup and Walkthrough
We walk the repair with you before we consider the job done, not just before we invoice it.
What Siding Repair Typically Costs
Repair pricing depends on how much has to come off to reach and fix the actual problem, not just the size of the visible damage. A single cracked board with a sound wall behind it is a modest job. A section with rotted sheathing or a failed barrier behind it costs more because the fix goes deeper than the siding. We'd rather give you an honest range after we've actually looked than a number pulled out of thin air over the phone — but broadly, small isolated repairs run in the low hundreds to low thousands of dollars, while repairs that uncover structural or moisture damage climb from there depending on what's found.
Why a Crew That Already Works Happy Valley Matters
A repair crew that regularly works this part of Bellingham has already seen how salt air and driving rain off the bay tend to fail siding here — which elevations take the worst of it, which older installation shortcuts show up most often in this neighborhood's housing stock, and what a correct fix actually needs to hold up through another wet season. That's not a substitute for a proper inspection of your specific house, but it means less guesswork and fewer surprises once we open a wall up.
It also means accountability that doesn't disappear. A local crew is still around next season if a repair needs a look, and still reachable if a question comes up after the invoice is paid.
Keeping a Repaired Section Sound
Once a repair is done right, keeping it that way is mostly about not letting moss and organic growth take hold again. A gentle annual rinse — not high-pressure washing directly into seams — keeps algae and moss from re-establishing in shaded, damp corners of the property. Keep an eye on caulking at trim and seams every year or two, since UV and temperature swings will eventually shrink it even on a correctly installed repair. And if you ever see the same warning signs return in the same spot, get it looked at quickly — a small return visit is a lot cheaper than letting water find its way behind the wall again.
If you're seeing damage on a Happy Valley home and want a straight answer on whether it's a repair or something bigger, we're glad to take a look. The estimate is free, there's no pressure either way, and you can request one using the form below.